Portfolio

Virtual TourWhat does it mean?
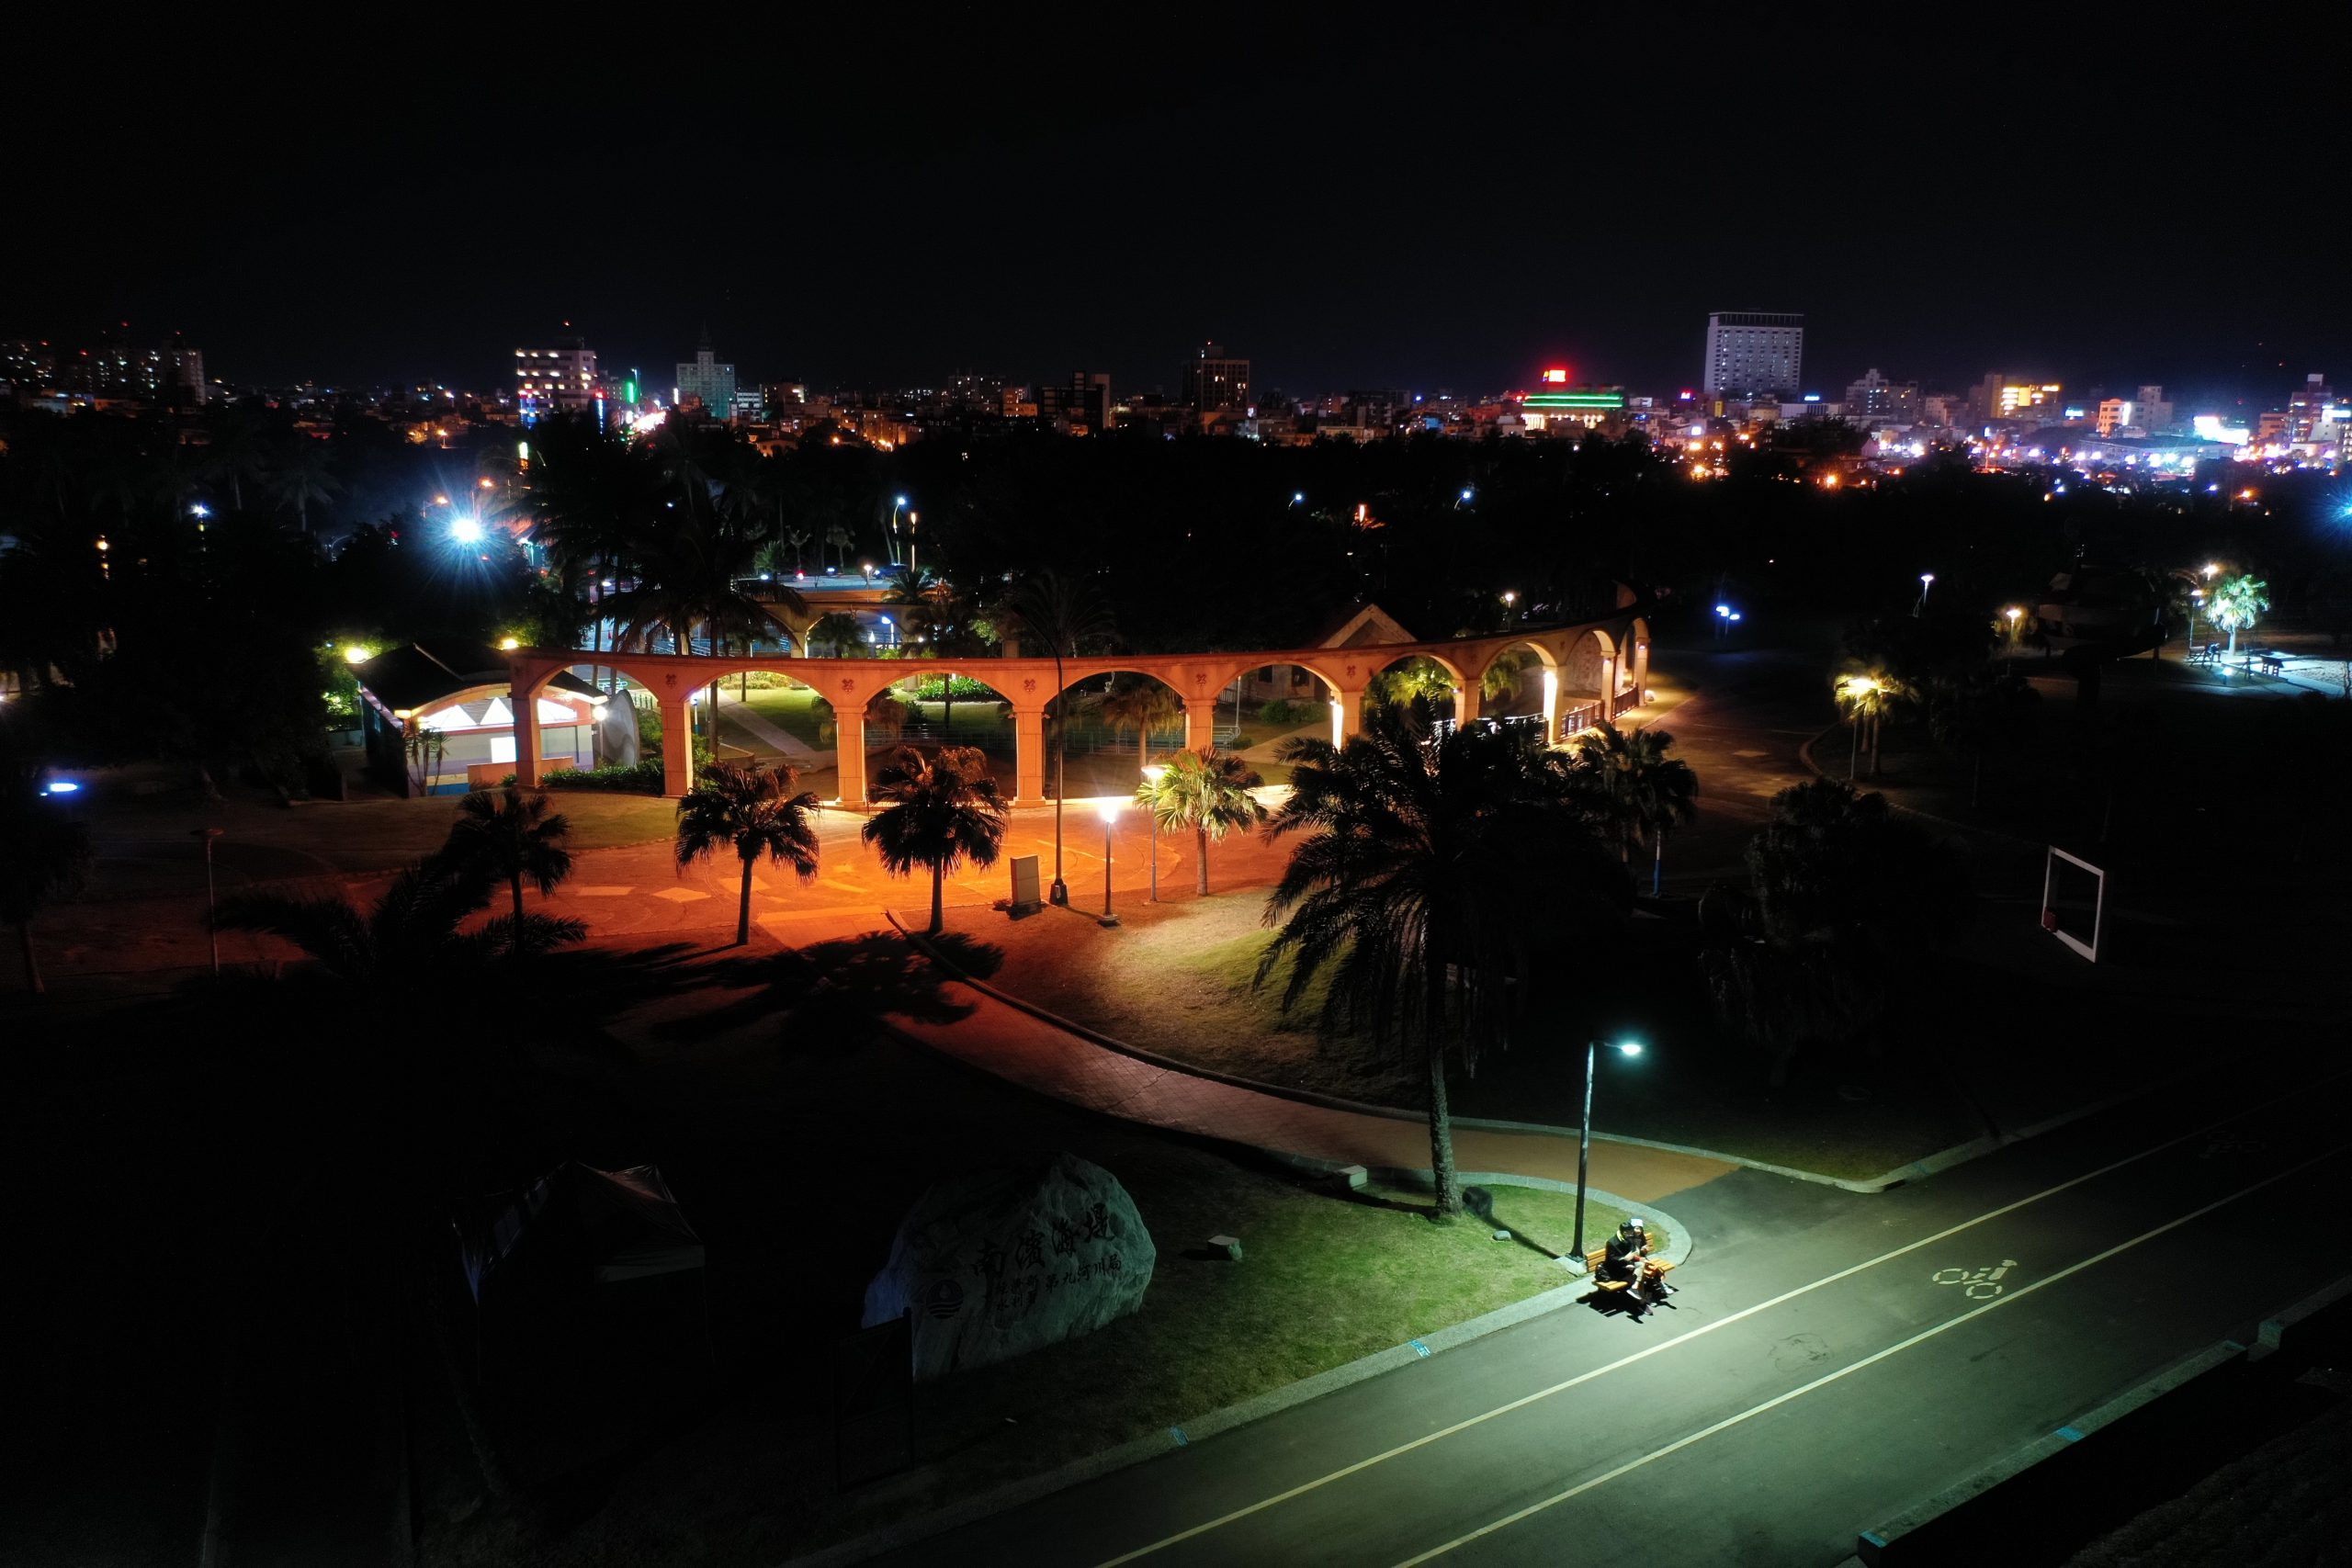
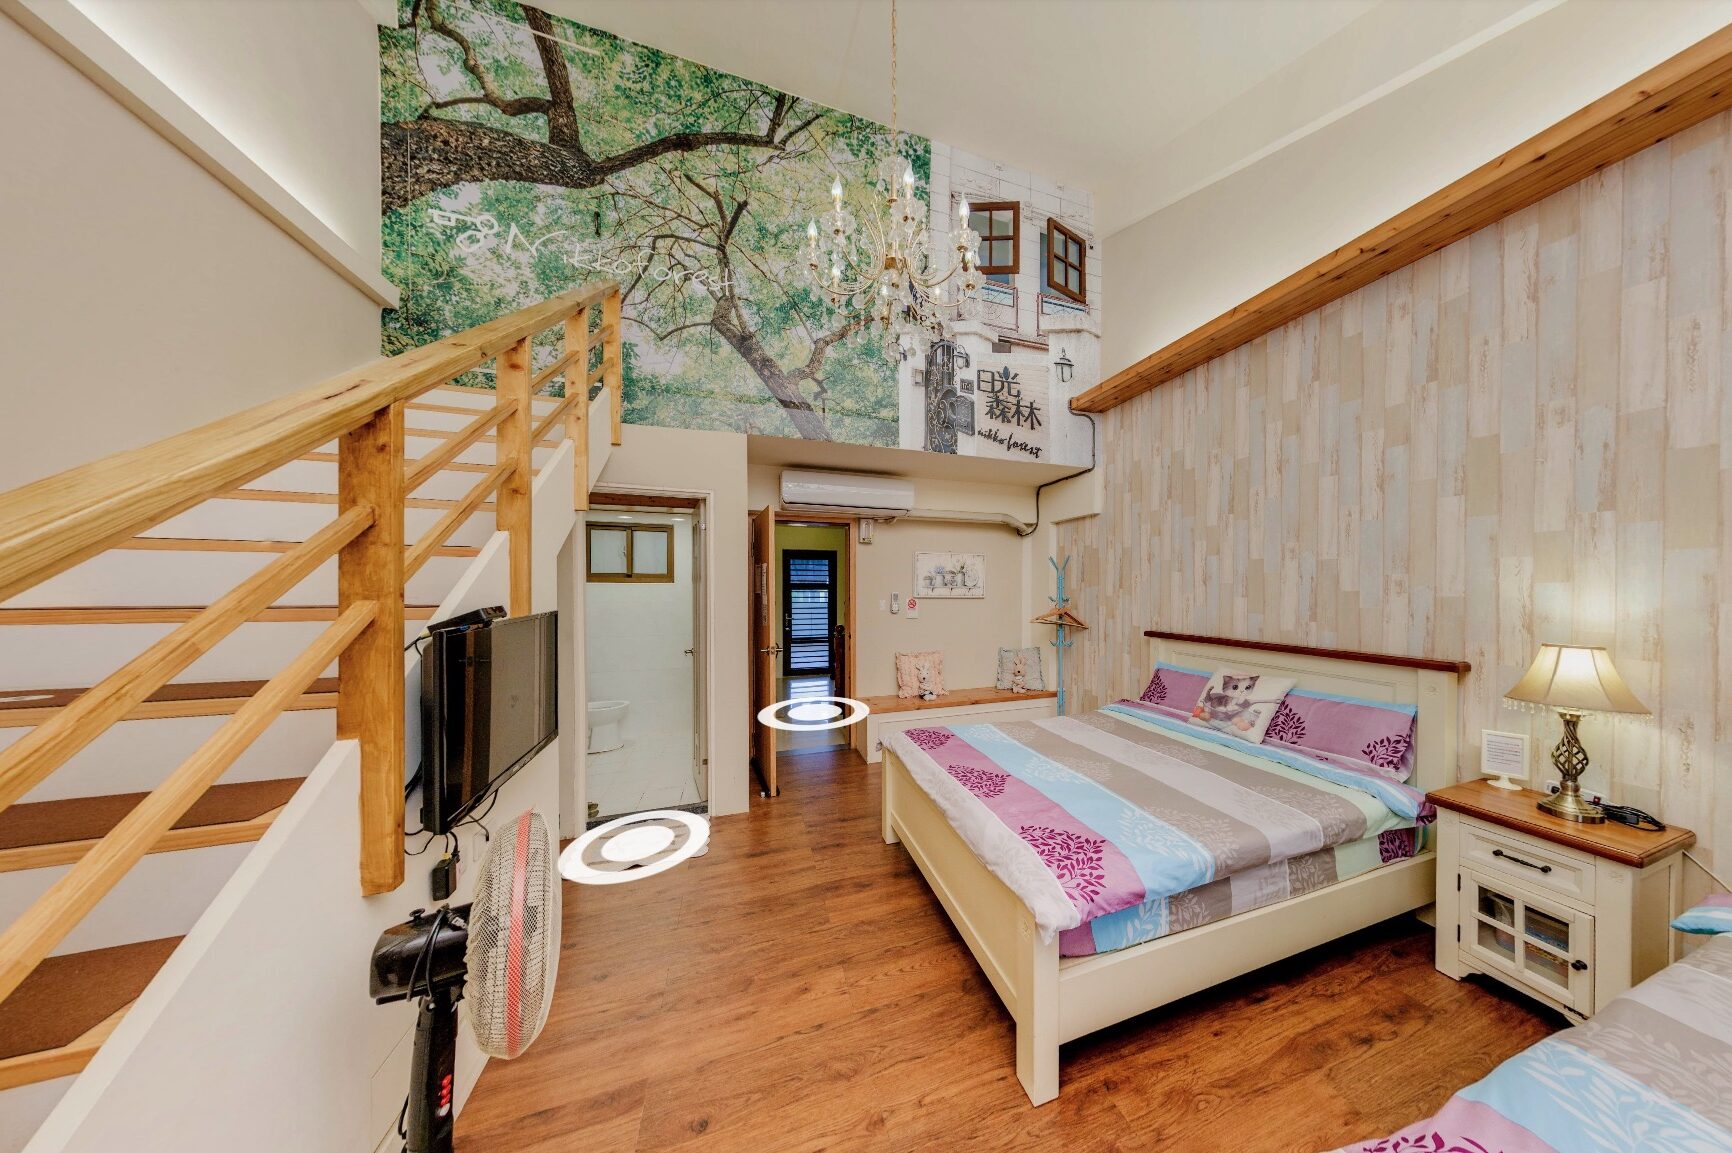
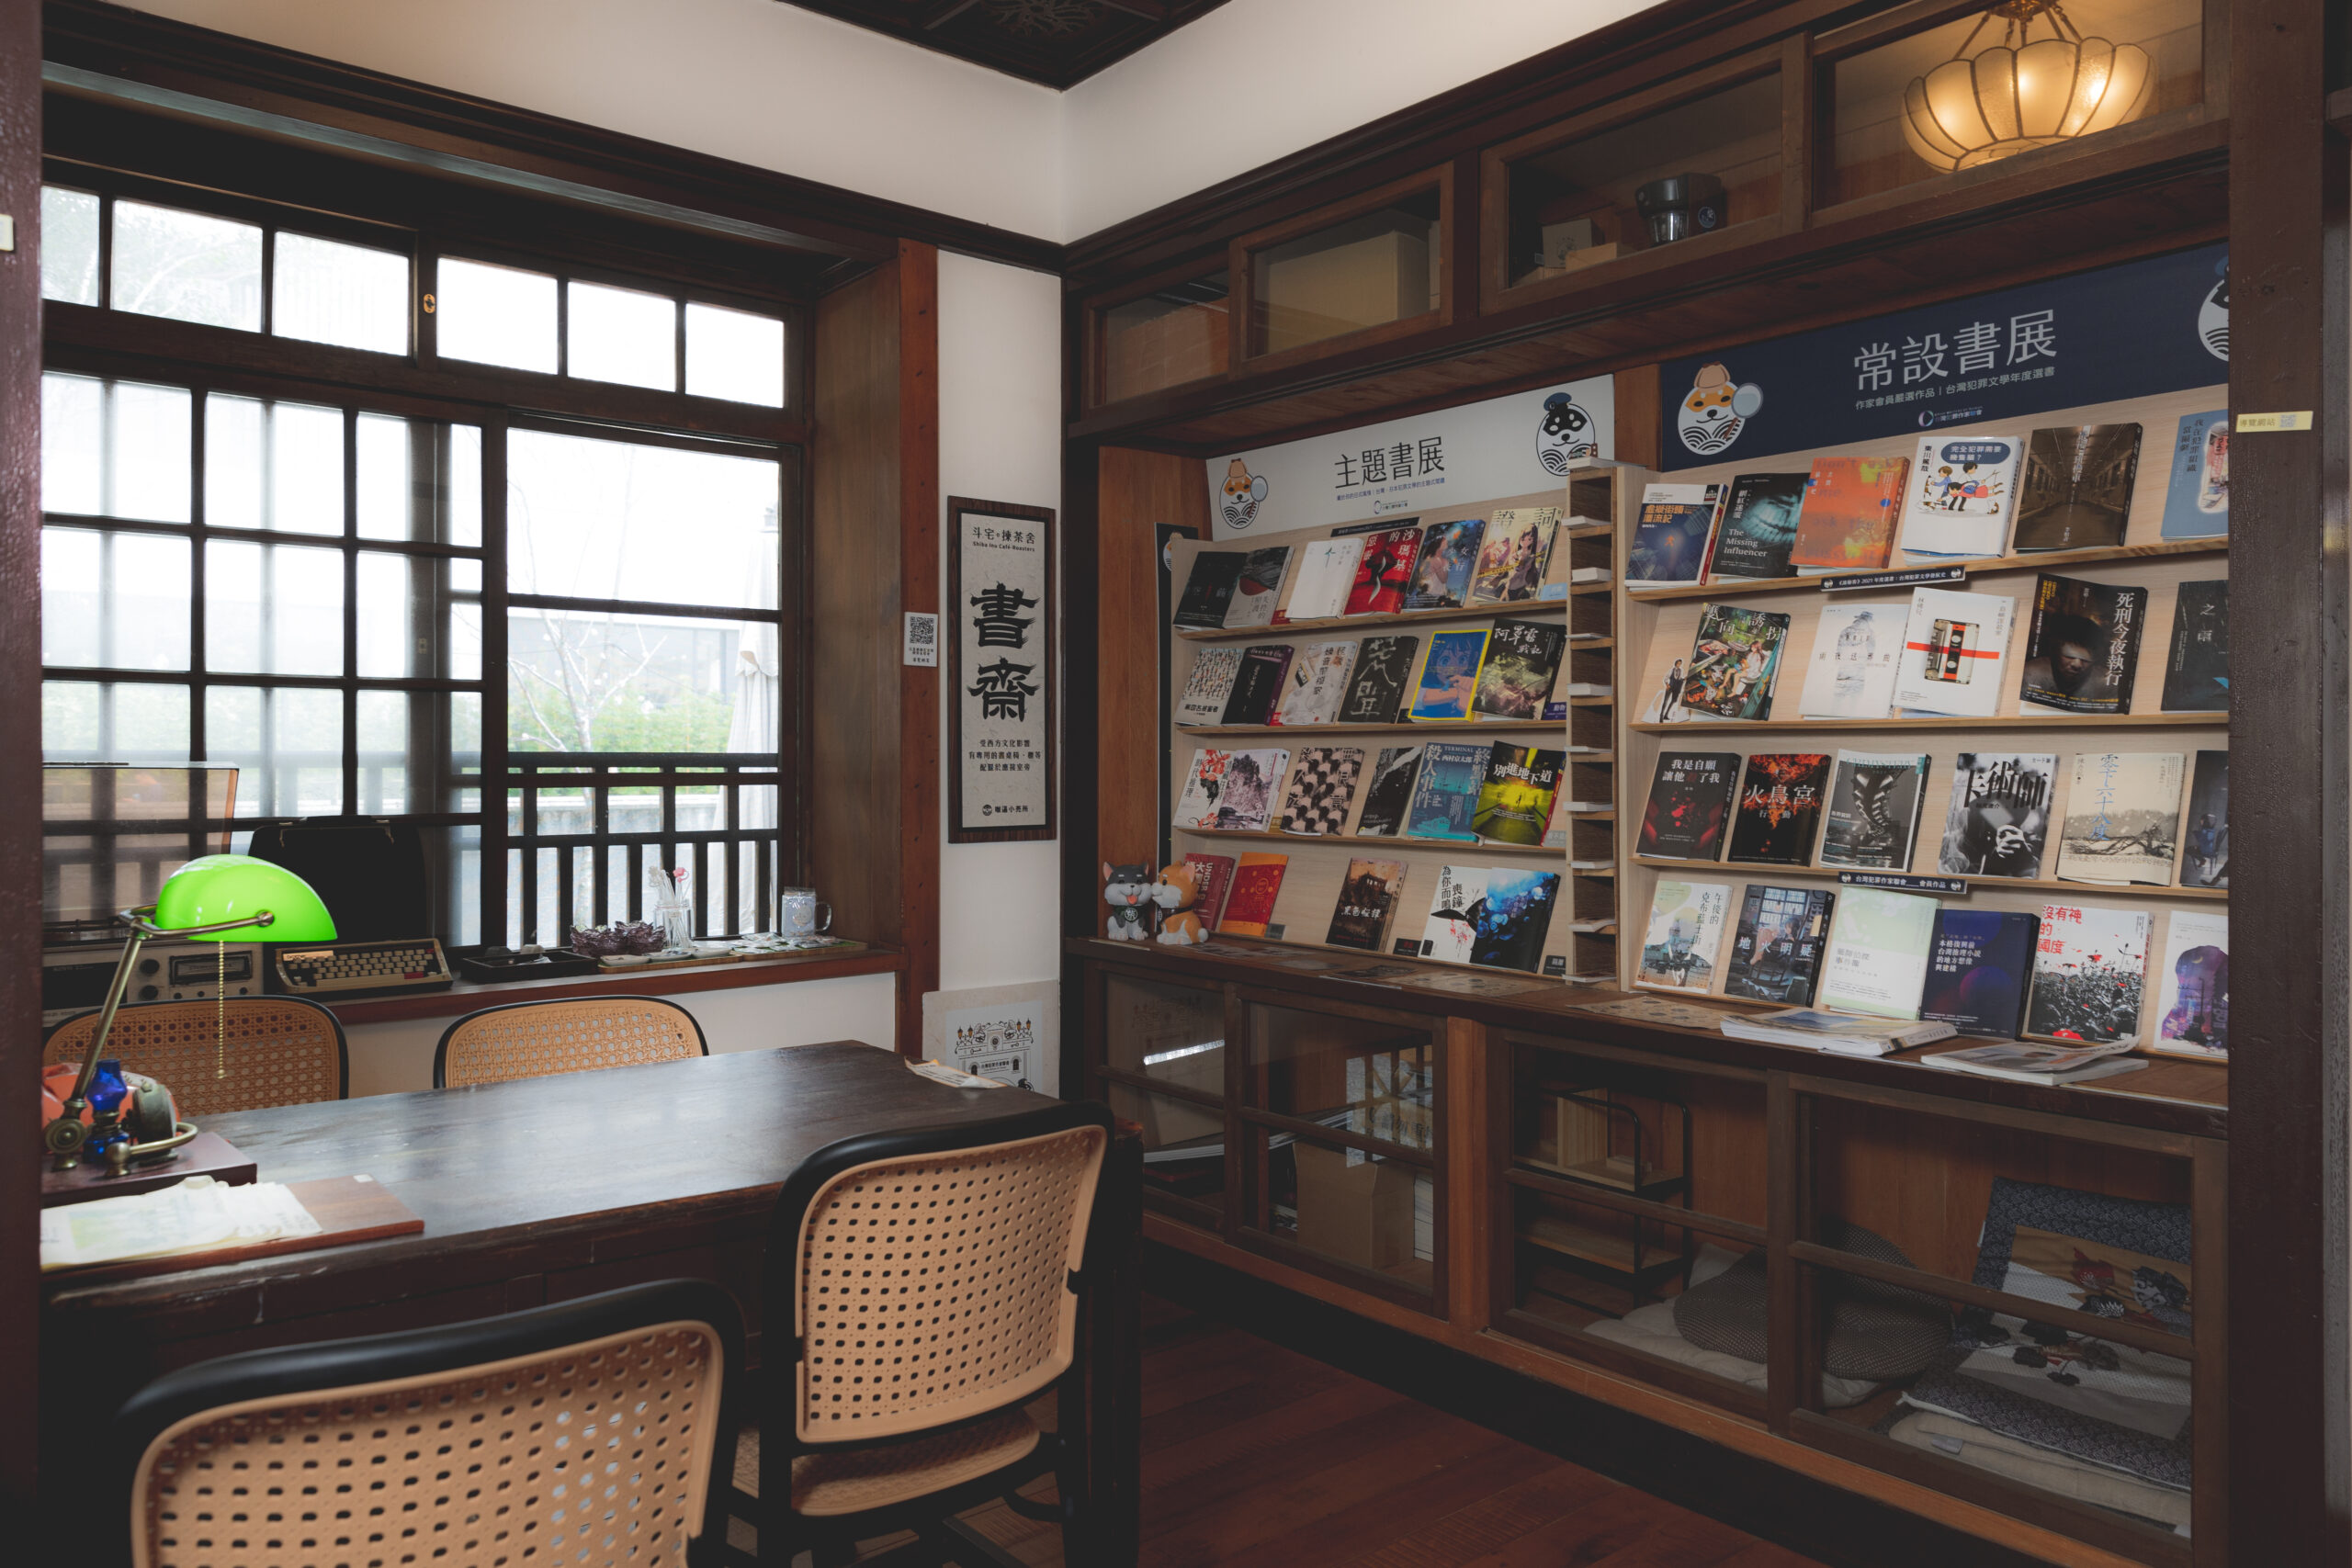
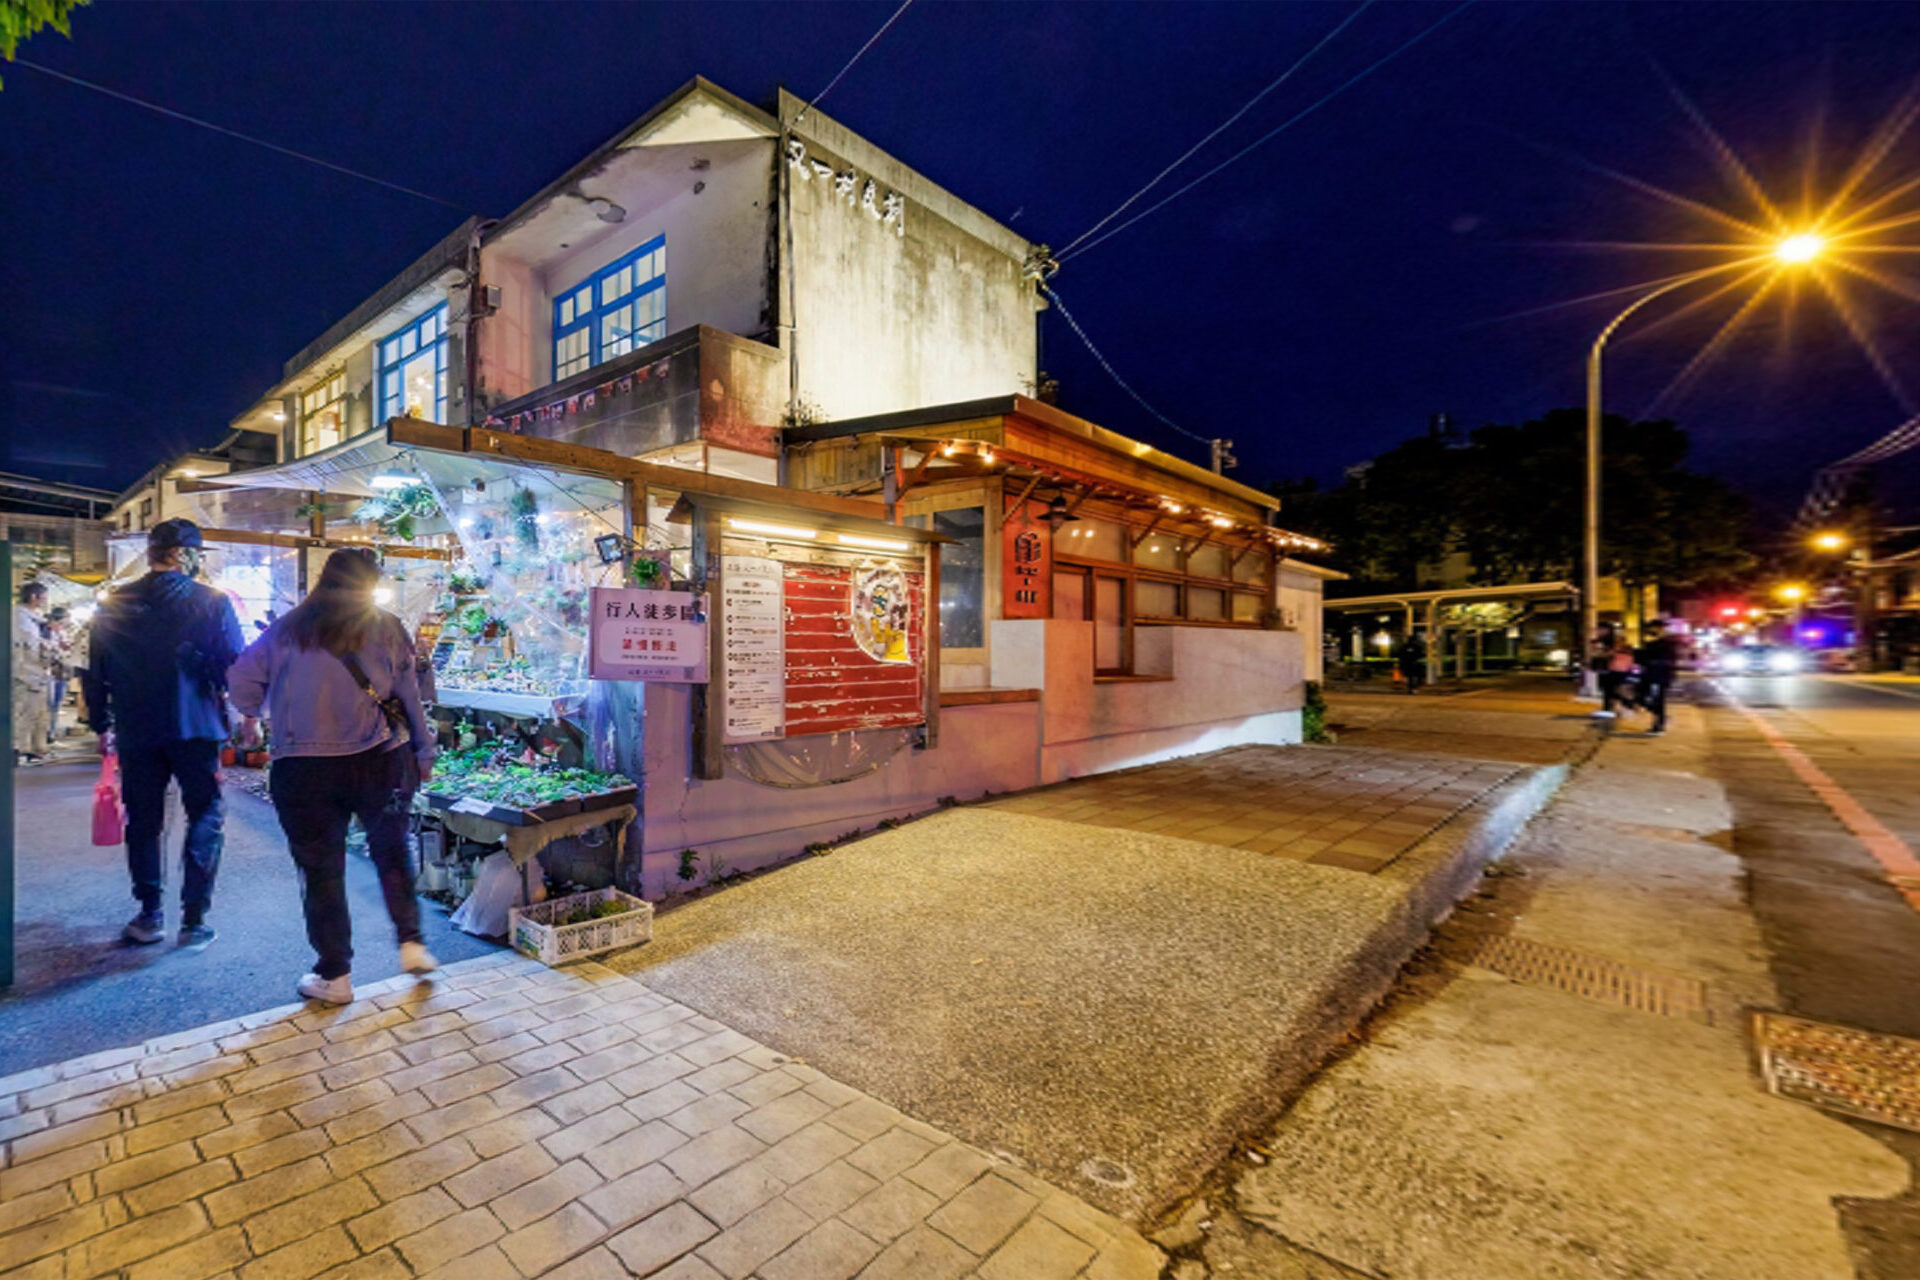
A Virtual Tour is a digital experience that stitches together multiple panoramic images based on the spatial relationships between scenes, creating an immersive virtual route. Similar to Google Street View, users can navigate through spaces by clicking interactive hotspot markers. Our Virtual Tour service uses 720-degree panoramic photography technology to capture every detail, allowing your customers to feel as if they are truly there. From anywhere in the world, using any internet-connected device—whether a smartphone or a computer—you can explore any space created with this technology. It could be a museum, a national park, a restaurant, a hotel, a car showroom, or even the interior of a vehicle. Through this interactive tour, we help hospitality businesses in different locations showcase their unique environment and atmosphere. A Virtual Tour is not only a digital tour construction; it is also a powerful online marketing tool that effectively enhances corporate branding and promotional impact.
How to Start Your First Virtual Tour?
Before diving into virtual tour marketing, here are the key steps you need to know for building an effective tour:
- Site Assessment
The site assessment determines which information or spaces should be disclosed for viewers to see or interact with. Too few hotspots may prevent viewers from establishing a sense of connection between scenes during the tour. From the viewer’s perspective, the amount of spatial information provided should be determined—whether it is a key-point introduction of the environment or a fully immersive experience allowing the viewer to navigate the constructed virtual space. This approach maximizes viewer interaction with the space and guides the decision on how many hotspots to capture. - Photo Shooting
There are countless shooting methods, depending on the desired quality of the final output. In commercial applications, the result represents the quality of services provided by the business. If higher quality and better image resolution can be achieved, every effort should be made to realize it.
The timing of the shoot should be chosen when there is minimal foot traffic in the space. If there are window views or outdoor scenery, it is recommended to capture them at the time when the lighting is most suitable. Of course, outdoor conditions depend on nature, while the indoor atmosphere is shaped by the photographer. - Photo Post-Processing and Stitching
All captured images require color adjustments before being stitched together into a spherical panoramic photo representing a single hotspot.
For general shooting, a full-frame DSLR paired with a high-quality lens is used. When specific shooting angles are required, a dual-fisheye 360 camera may be employed. After shooting, basic post-processing is performed to adjust lighting and color, followed by photo stitching. The final output is a spherical panoramic photo representing a single hotspot. - All stitched panoramic photos are interconnected through hotspot placement.
Once all stitched spherical panoramic photos are connected into a complete tour structure using software, individual elements such as photos, videos, and music can be added into info cards as needed. The finished tour can then be exported as a compressed web file for uploading to website builders like WordPress for embedding and online viewing. Alternatively, it can be uploaded to a hosting platform to generate a shareable link for social media or an HTML embed code for browser-based viewing.
Tour Construction
If panoramic photos are not linked together after stitching, they are merely a collection of images without tour functionality. Specialized software is required to construct the tour, linking the photos and providing an appropriate user interface along with additional features to enhance the viewer's immersive experience.
The entire process, from shooting to completing the tour construction, typically takes about three to six working days, depending on the richness of the tour content and whether additional elements need to be added, arranged, or described.
Pre-Shoot Preparation
- Conduct an on-site assessment to estimate the number of shooting hotspots required, identify any objects, decorations, or scenes that need to be highlighted in the tour, set up product-to-store links, and prepare business information content. A sample tour will be produced for the client to confirm hotspot quantity and placement, as well as info card details.
- Confirm the shooting date after signing the contract and receiving the deposit.
- The scenes presented in the tour are the spaces you want clients to see, so please ensure the space is organized before shooting.
Precautions during shooting
- Turn on all indoor lighting, regardless of whether it is night, dawn, or dusk, as illuminated scenes create a more inviting atmosphere. After capturing a scene, the photographer will switch off the lights in that space. If you have a preferred style, please discuss it with the photographer in advance. The shooting time and method will be determined after evaluation.
- For hospitality venues, ensure all guest amenities are fully replenished and properly arranged.
- If the venue has windows, close them and position the curtains neatly.
- If the space becomes stuffy after closing the windows, turn on the air conditioning but switch off any fans (if present) to avoid objects being displaced by airflow during the shoot. The photographer will turn off all appliances once the session is complete.
- Since the entire space will be captured during shooting, please ensure no one remains in the area to avoid delays in the process.
- The shooting time for each hotspot may vary depending on the location. Generally, it takes about 3–5 minutes per hotspot, but scenes with large floor-to-ceiling windows may require 20–40 minutes for a single hotspot.
Post-shoot inspection
After the shoot, one or two sample shots will be exported for the client to confirm whether the color, brightness, and overall tone match their expectations. Once approved, all subsequent post-processing will be adjusted based on this reference. Post-production stitching will then take about three working days, followed by the creation of hotspot links (on the hosting platform). Once the tour is built, a link will be sent to the client for review, asking them to check the following points:
- Whether the photo’s color and brightness match the agreed-upon look.
- Check if any hotspot photos in the tour have defects or objects that require significant post-processing to remove.
- Verify that all links in the tour are functional, hotspot markers are correct, and business information is accurate.
If everything is in order, proceed to the post-production stitching and virtual tour construction phase.
How can a completed virtual tour be utilized?
A completed virtual tour will be provided to the client in HTML5 webpage format, along with the full tour project files.
The complete project files can be handed over to a web development company for website embedding, or hosted on platforms such as GitHub or Garden Gnome to obtain a web link, which can then be converted into a QR code or shared as a link on social media.